We managed to squeak in some family photos yesterday. I am so glad we got to capture our last days as a family of three. It almost didn't happen as baby girl failed her NST badly. I had an appointment at 0900 on Thursday for an NST and a biophysical profile. We ended up not leaving labor and delivery until 1515.
My OB and midwife are concerned that my placenta is crapping out on me. My amniotic fluid levels dropped a ton and baby girl's heart rate started decelerating with every contraction. I spent five hours on the fetal monitor. Once they repositioned me completely on my side, she started doing much better. They let me go home and we managed to get our family pictures taken. I am so grateful that Jackie Jane Studios was able to help us out last second. I reached out to one of my photographer friends from back home and she put us in touch, so thank you very much to Alex too!
DIY Home is Where the USMC Sends Us Plaque
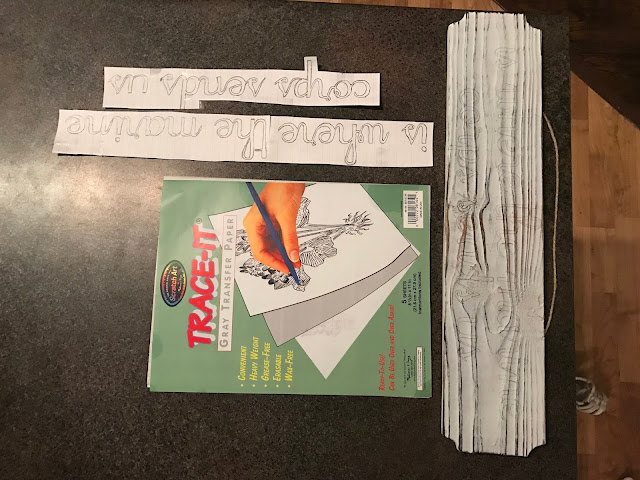
One of my mom friends shared this idea on Facebook, so I had to take a crack at it. It's not done yet, but the hard parts are complete. I'm going to put a picture of each state we've been stationed in as well as interlocked rings for where we got married and little baby feet for the places I gave birth, I'm also going to include the dates we lived there.
To make the handwritten part, I bought some charcoal tracing paper and an ink pen. I found a font I liked online, adjusted it to the size I needed, and traced it onto regular paper. If my printer had ink, I would've just printed it. But alas, no ink, so I traced it. Then I laid the charcoal paper on the white board and put my traced letters on top of it. Then I traced over that once more to transfer it to the white board. After that, I filled in the tracing with a black paint pen.


No comments:
Post a Comment