Crafts in the Time of Corona
 |
| Top: Adult woman. Middle: 5-year-old. Bottom: 3-year-old. |
 |
| Includes an inner pocket for filter material if so desired. |
 |
| See the update below to make a mask with head straps. |
This blog post is going to show you how to make your own face mask that includes wire/piping to allow you to pinch it around your nose as well as pleats to make the mask lay flat to your face without any gaps. It also includes an inner pocket to insert filter material. I spoke with a nurse, and she's heard vacuum bags or air filters for your house are the best filter materials. However, there is no hard data behind it. Even so, it's better than nothing and hospitals are rapidly running out of supplies.
Materials You Will Need to Make the Face Mask
You will likely have most of these supplies already, but you can find all of it at craft stores. Do NOT ransack your local craft store. Many craft stores are offering curbside pickup for orders if you can't find anywhere that will deliver. Be smart. Keep your distance from other people.
You will need:
- Paper and pen to make a template to trace.
- Scissors.
- Fabric—cotton and cotton blends work best. Avoid stretchy or velvety fabrics. You will need enough fabric to cut out two inner and two outer linings (four pieces total) as well as two filter pocket pieces. Refer to the images below to see if you have enough fabric. It doesn't take much.
- Elastic (1/8-1/4 inch works best).*
- Thin wire or pipe cleaners.
- Pins or clips to hold pieces together.
- An iron or a flat iron.
- Filter material (option, but highly recommended).
*See the update below on how to make an adjustable mask with straps that go around the head instead of around the ears. For short periods, ear loops aren't uncomfortable. However, medical professionals often work 12-hour shifts and the ear loops can become uncomfortable. While you can always use loose ties at all four corners, it requires the person to adjust it every time they wear it. I came up with a solution that eliminates the ear pain as well as the need to adjust ties.
How to Make the Face Mask
I followed this tutorial while making mine. I liked it best because it was simple and provided clear step-by-step instructions. However, following along with the video and trying to go back to see previous instructions could be a bit challenging at times so I figured I would make a written tutorial to go along with it.
Note: The instructions below are to make an average adult woman's mask. Add half an inch to both measurements to make an average male mask stencil.
Take your piece of paper and fold it in half. You will want to work on the side with the crease. Mark out a 3x5 inch rectangle on your paper.
Note: The instructions below are to make an average adult woman's mask. Add half an inch to both measurements to make an average male mask stencil.
Take your piece of paper and fold it in half. You will want to work on the side with the crease. Mark out a 3x5 inch rectangle on your paper.

Next, make a mark 3cm up from the fold on the outer edge of the paper and 2cm in from the top right corner of your rectangle like so:

Draw a gentle curve from the 3cm mark to the 2cm mark. Then draw an arc down from the 2cm mark to the bottom right corner of your rectangle:

Cut along the curved lines and unfold the paper. This is one of your stencils. You will use it to make the next stencil.

Trace this on another piece of paper and cut that shape out as well.

Mark 1.5cm in from the flat side on one of your stencils, draw a line, and trim it off the stencil.

You now have your filler stencil for the inner pocket as well as the stencil for your outer/inner linings:

Trace and cut out four of the lining template as well as two of the filler template.

Pin the right sides of the pieces together (the pretty sides, the face of the fabric—whichever side it is you want to see on the finished product).

Sew along the curve on all three leaving 1/4 inch. be sure to backstitch/staystitch at the start and end of every piece you sew to make sure the hem doesn't come undone. There is a button on the front of most sewing machines that looks like a u-turn arrow. That button allows you to sew in reverse to make the backstitches. I do about four or five stitches, backstitch, then resume as usual until the end where I repeat the process.

Carefully snip along the curve every half inch or so, fold them down like you're parting hair, and iron them so they lay against the fabric. You can also use a flat iron in a pinch, just be sure it's free of any product and that everything is sanitary. This step is kind of a pain, but it makes assembling them much easier.

On the filler pieces that will make the pocket, mark half an inch in from the straight edge on the wrong side/side you won't see when it's complete. Draw a line and repeat this process on the other side.
Fold inward toward the seam on the wrong side along the line then fold again so the raw edge is folded out of view. Iron the folds to help them hold their shape. The image below shows one side already folded and ironed with the other side only halfway folded.

Sew those folds down.

Line up the raw edge of the filler piece to the good side of one of your lining pieces. You don't need to pin them at this point, I just did to be able to take the picture.

Then you line up the seams of the second lining piece so the good side is facing inward. As you can see in the image below, you should have both good sides of the lining piece facing each other with the filler piece in between. Pin them in place. It can be a bit finicky to get the seams to all line up properly. Ironing and flattening those seam edges earlier will help with this step to reduce the bulk.


Sew along the top and bottom edges leaving the flat side open.

Trim the top peaks to reduce bulk since those parts will b by the nose and under the chin. Take care not to cut through the stitches then flip it inside out.

Mark a half-inch in on both flat sides and fold them inward to conceal the raw edge.

Trim your wire to fit inside the mask. Feed it through and pin it to the very top of the mask. This part can be finicky. Take your time to ensure you've pinned it away.

Pin the elastic to each corner as well. For this mask, each elastic piece was seven inches. Since making many of these, I've found the average woman's mask will require 7-8 inches of elastic, while the average male mask will require 9-10. Your mileage may vary.

Sew along the edges all the way around. Backstitch over the elastic to make sure it is secure.

As you can see, there is a pocket for filter material:

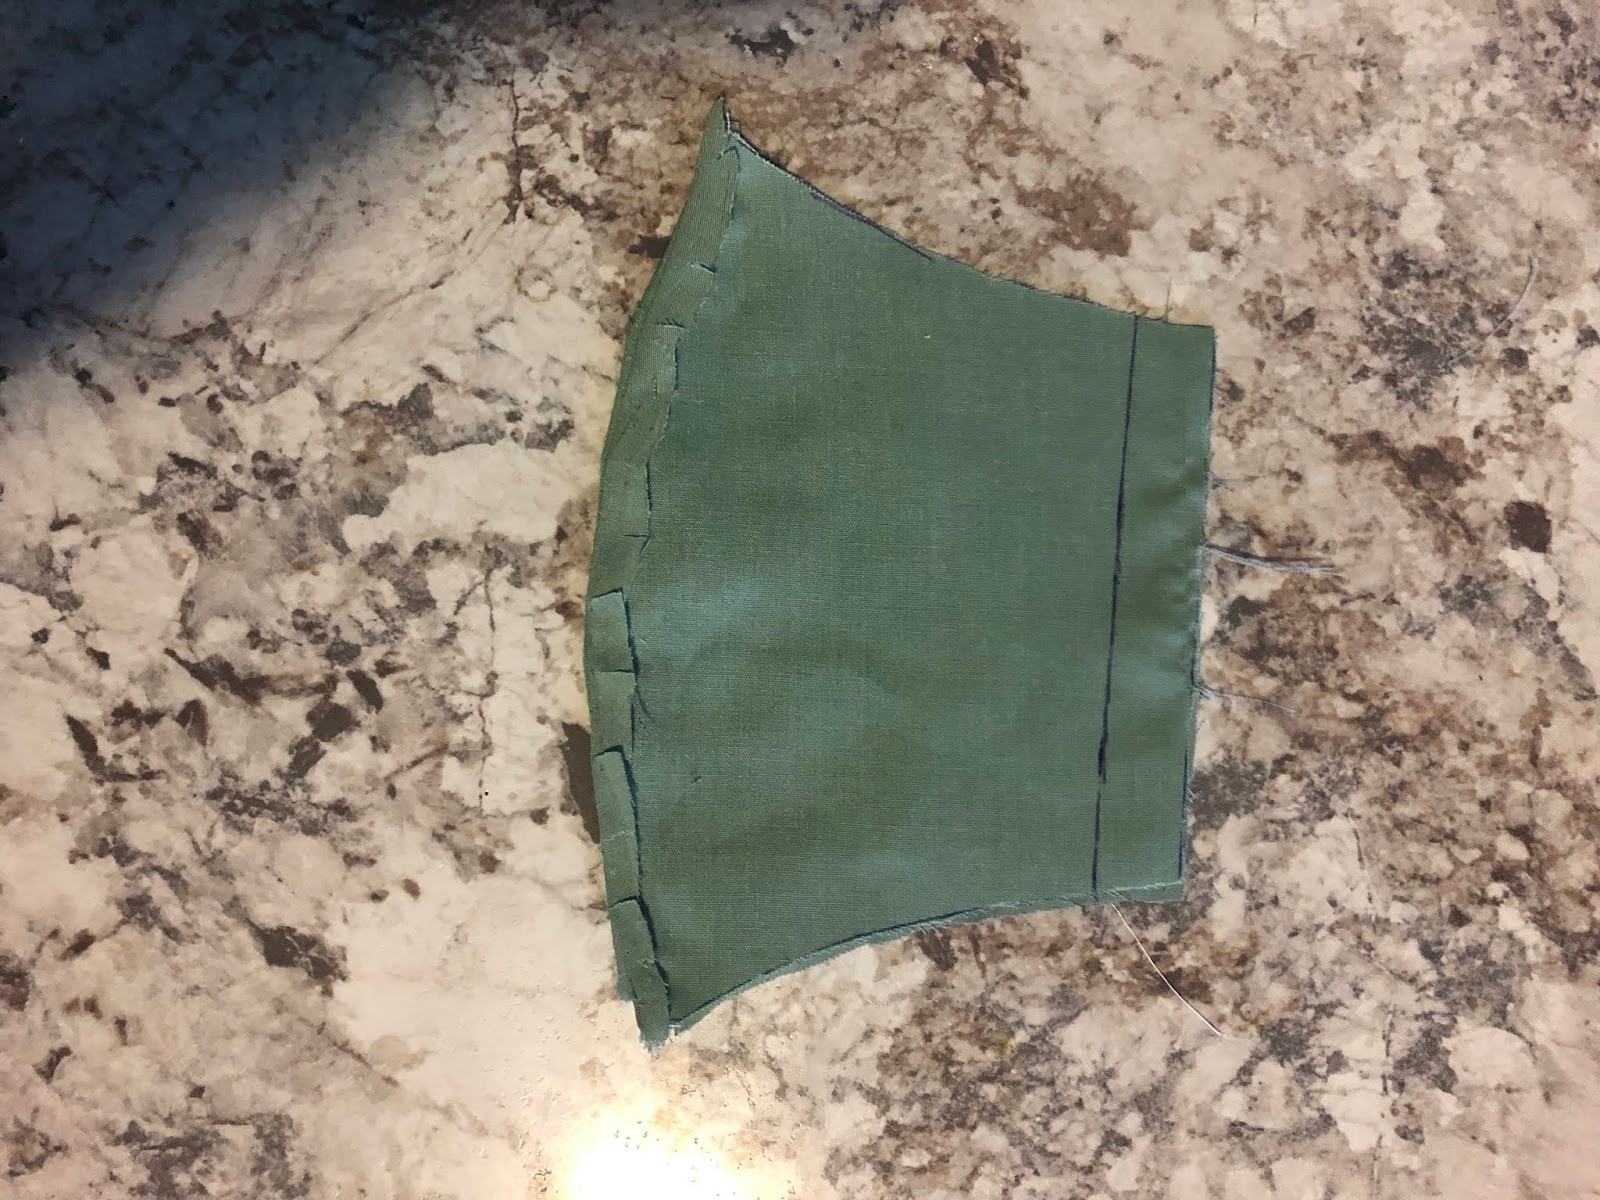
The original tutorial I followed ended here. However, I had significant gaping around the part by the elastic. I added a pleat so that it would lay flat to my skin. If yours also needs a pleat, put on the mask and pinch the fabric to isolate the excess. Fold it over and sew along the seam to pin it in place. The smaller the face wearing the mask, the more likely you will need a pleat.

I made several for myself and my children. I don't intend to go out anywhere, but if I have to go to the pharmacy or grocery store, we will be wearing them. At the very least, it stops us from touching our faces.
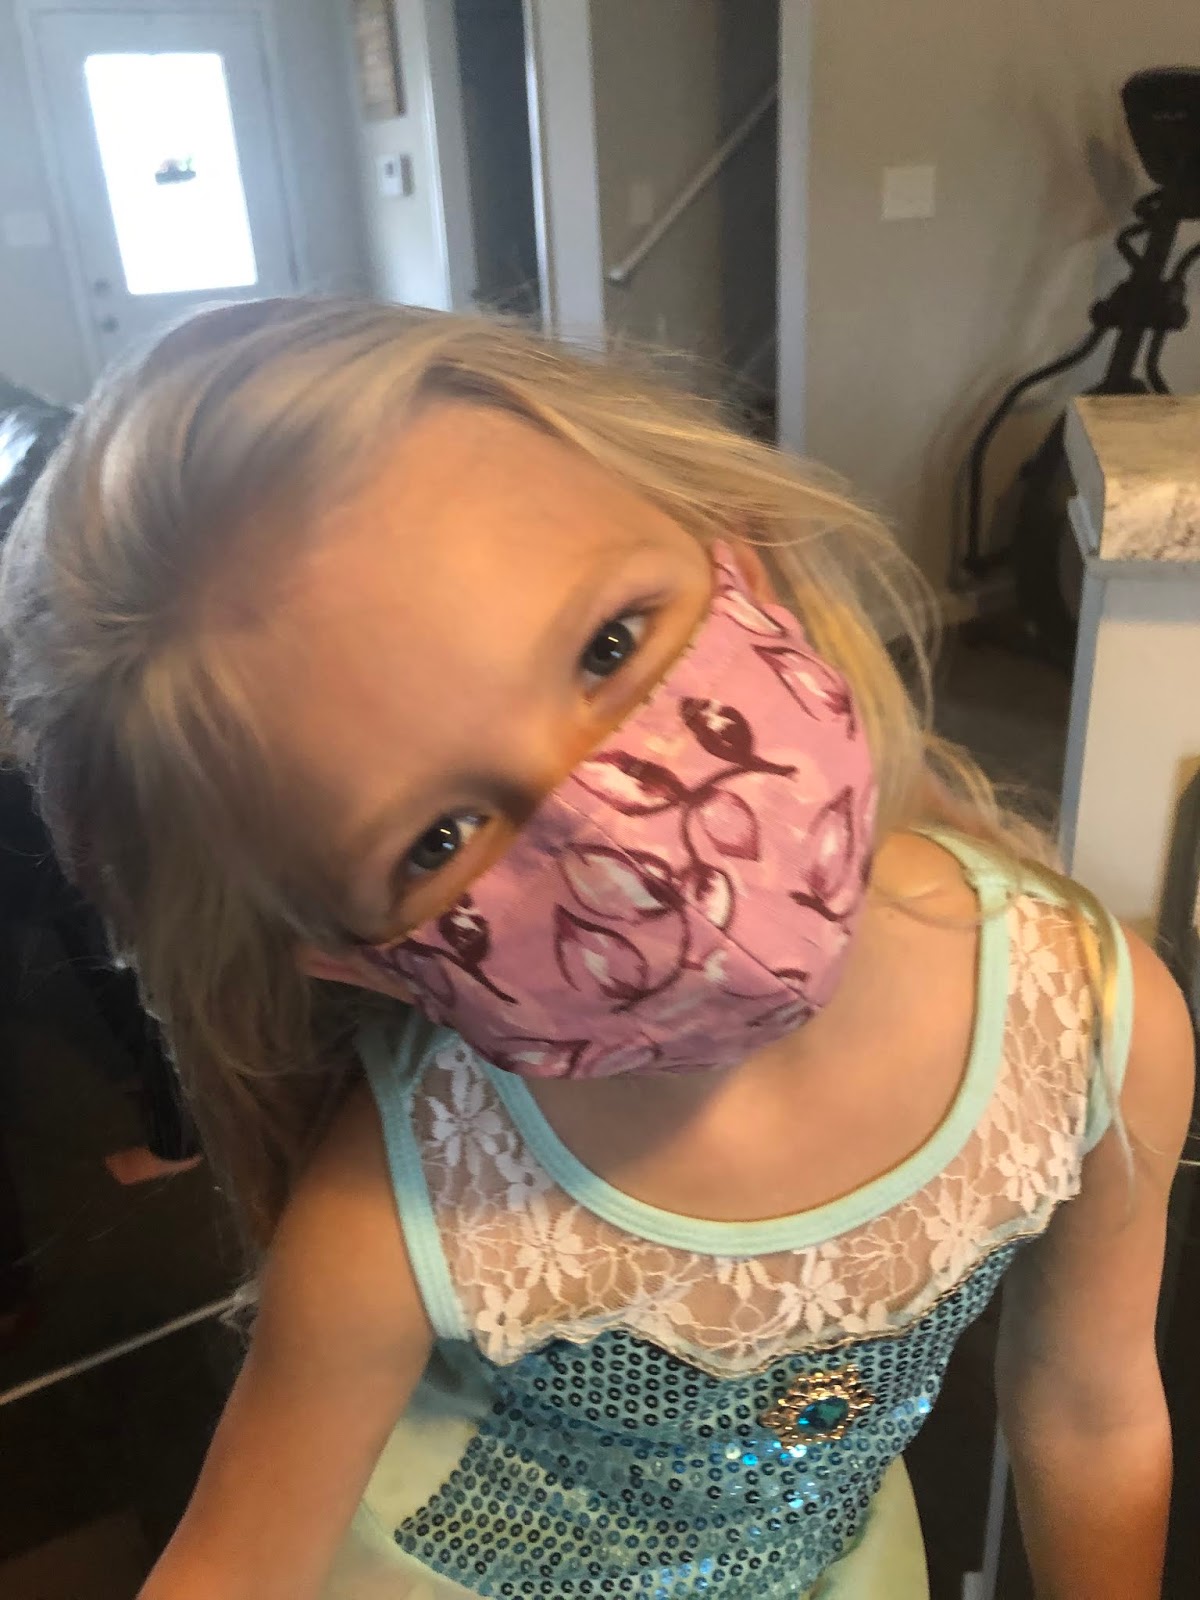
For my five-year-old's mask, I shorted the elastic to five inches but used the same size mask template. My five-year-old is very tall for her age, though, so ymmv. For my three-year-old's mask, I also used five-inch elastics, but I shortened the length of the mask by an inch total (a half-inch on each side when I made the initial cuts).
As you can see in the pictures below, the wire allows the mask wearer to pinch the mask along the nose to eliminate gaps. It extends below the chin and lays flat against the face.


Making the masks helps keep me calm and I feel like I'm doing something constructive. Stay healthy and try to stay sane!
UPDATE
A nurse friend of mine reached out to ask if I could make her a mask. However, she requested I use ties instead of ear loops. Wearing the masks for up to 12 hours at a time was causing ear pain for many nurses.
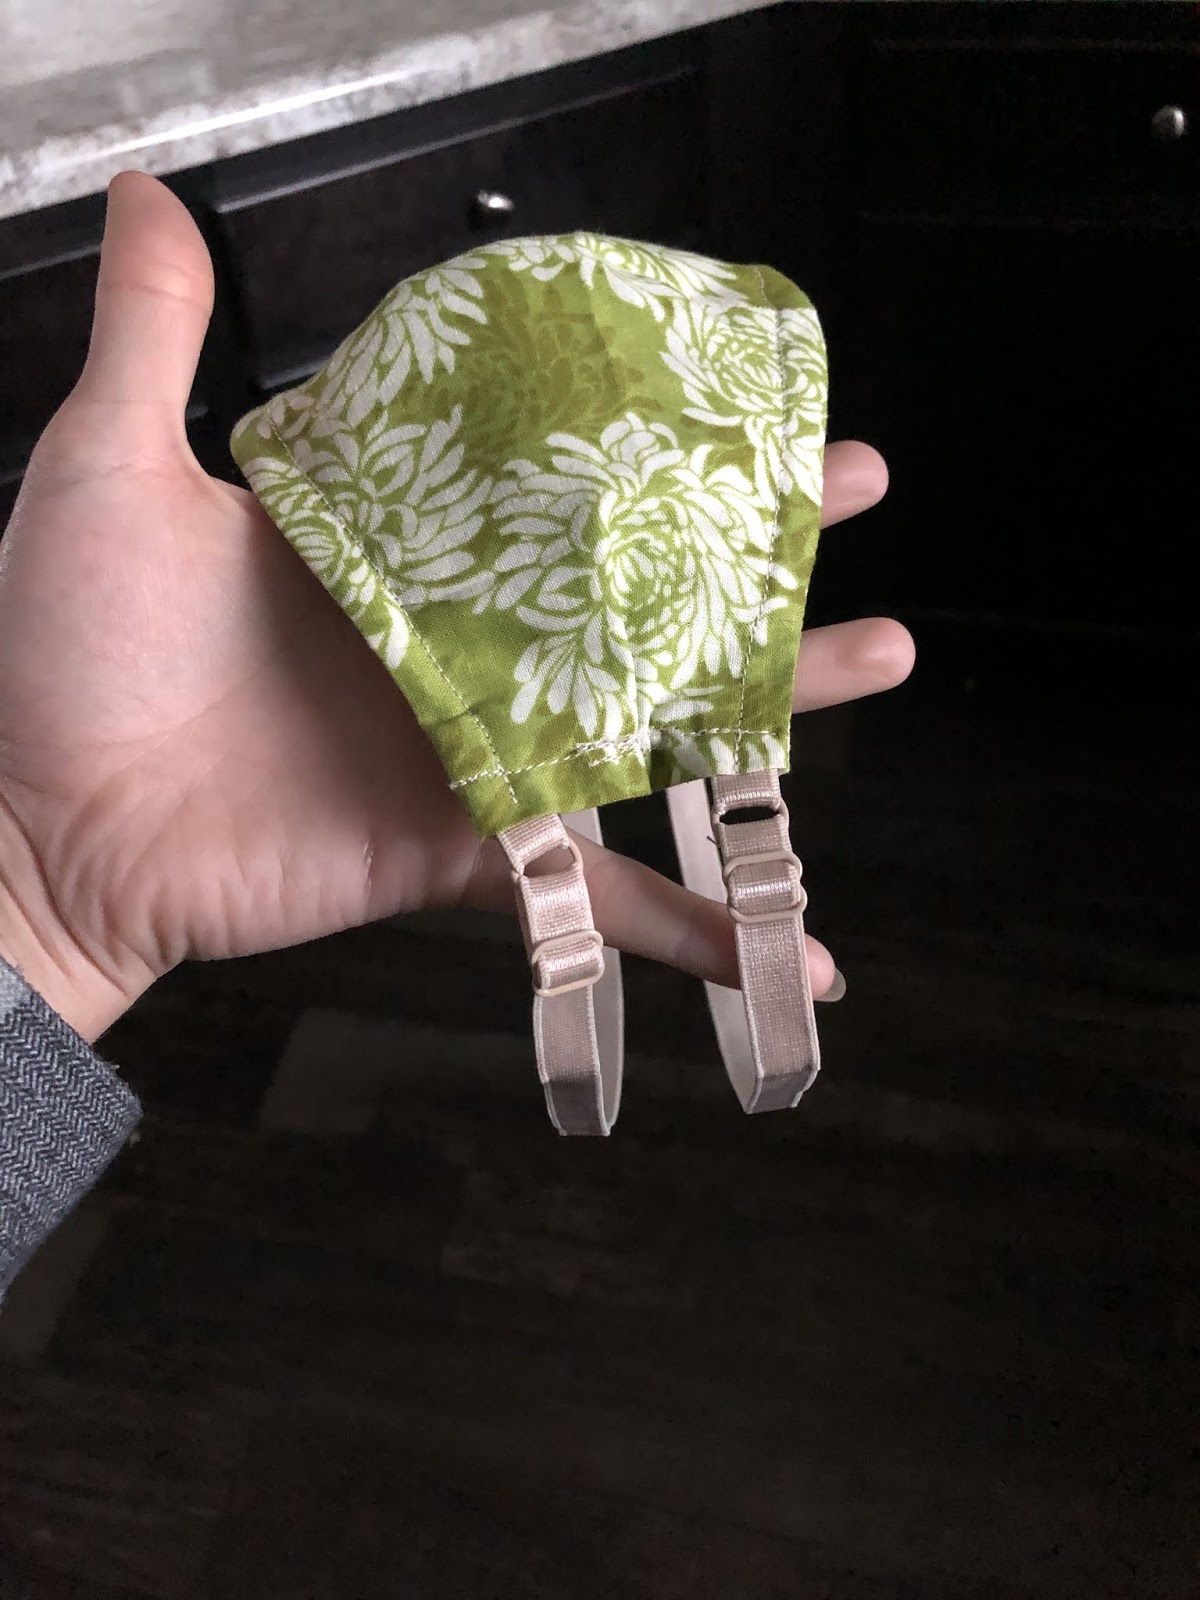
When I started making her mask, I realized I was out of neutral-colored elastic to make her long ties. I'm in the process of spring cleaning as well and inspiration struck as I was cleaning out my closet. I came across an old nursing bra. I cut off the straps making sure to leave the metal loops so the strap can move freely. If you remove the metal loops, you can't tighten or loosen the straps appropriately.
|
| Close up of the metal loops and the adjusters for the straps. |
I then attached the first band to the top corners and the second band to the bottom corners instead of creating a loop from the top to the bottom like the above masks. This allows my nurse friend to slip the mask over her head and then tighten the straps. No need to retie it throughout the day, it doesn't irritate her ears, and (while not all that relevant health-wise) there isn't a lot of unsightly extra fabric from the ties.
 |
| Comparison of around-the-ear loops to around-the-head adjustable straps. |