The other hanging mason jar crafts (here and here) were for decoration, so I coated the inside of those with paint. I opted not to do that for this project because I never know what color the walls will be in our next kitchen when we move and I didn't want the pens to scratch through the paint.
What You Will Need
- A wood board (I got mine at Michaels, it came with a string for hanging it already attached)
- Mason jars
- Worm gear clamps/hose clamps
- 1/2 inch tube straps
- Wood screws (length will depend on the thickness of the wood board)
- Screwdriver

I measured out how wide the board was and eyeballed where I wanted my mason jars to start and end. I also estimated how much mason jar I wanted to extend past the bottom of the board/how much of the pens/pencils I wanted to extend past the top. Then I measured out the area in between so they would be evenly spaced.
I screwed the top part of the tube straps down and slipped the worm gear clamps under the non-attached side. Then I screwed the bottom half of the tube straps into place.
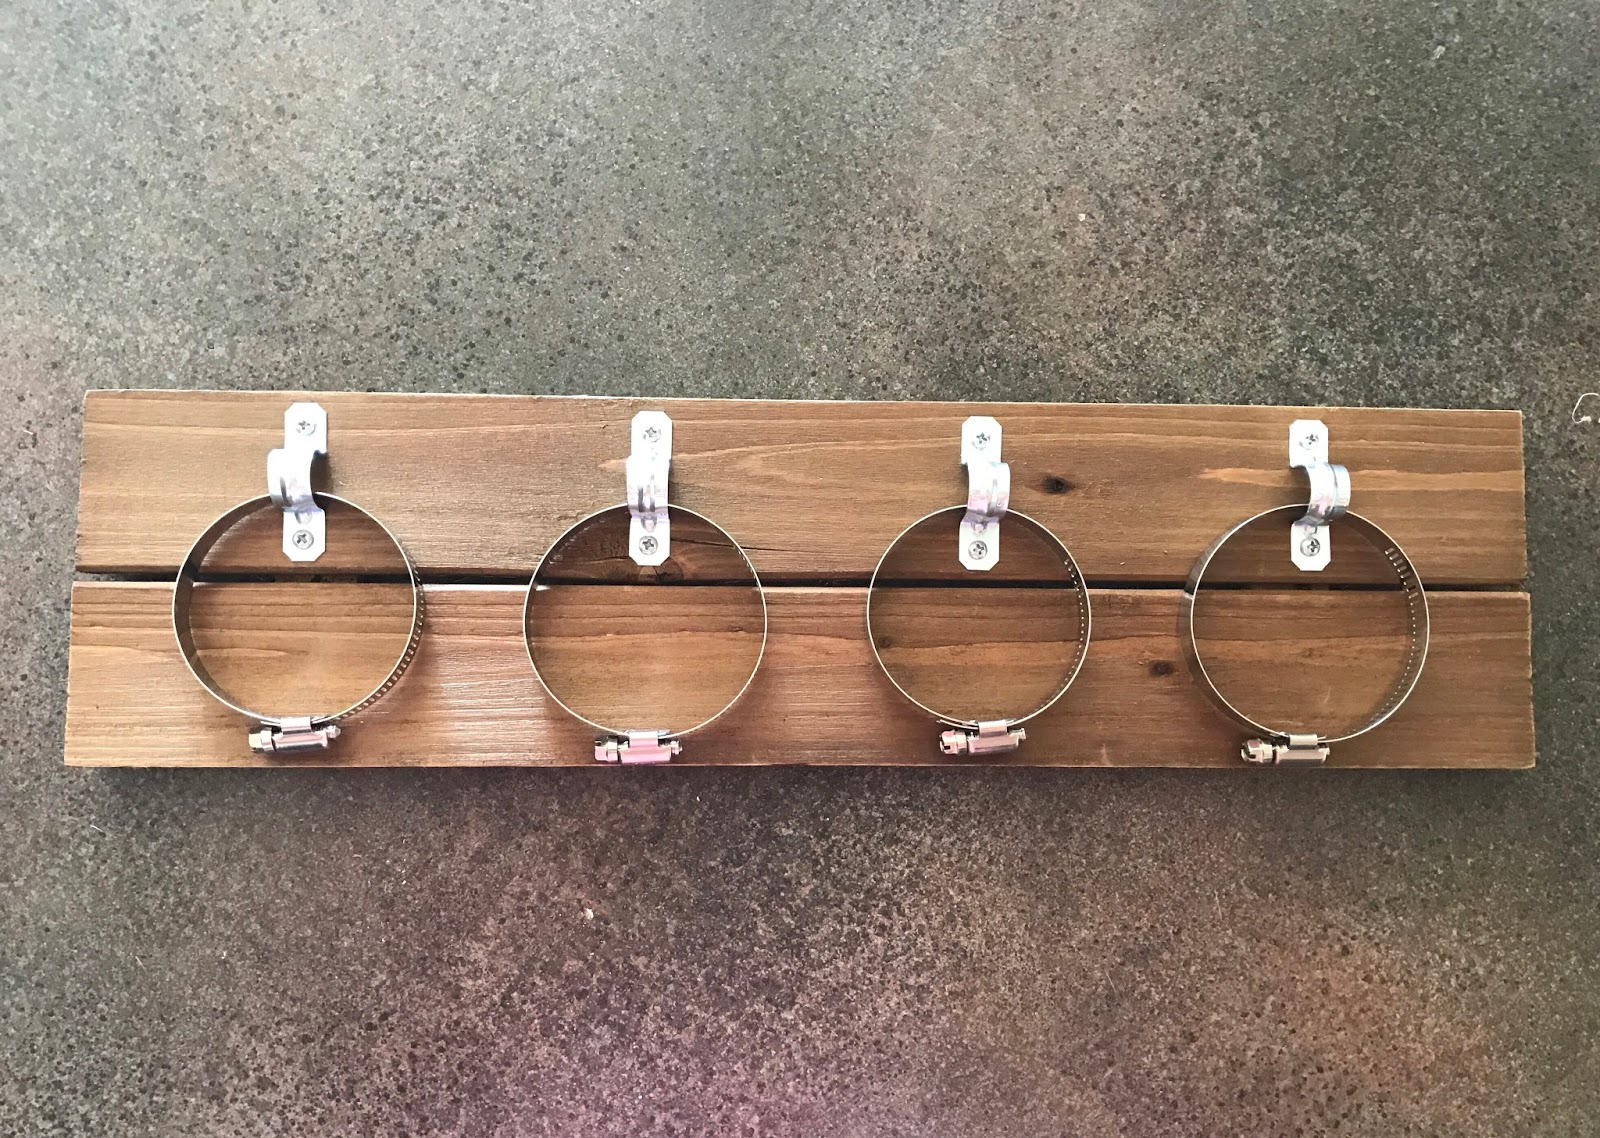
I removed the center portion of the mason jar lids so the inside is easily accessible. Then I stood the board upright and slipped the worm gear clamps over the tops of the mason jars and tightened them into place. I made sure to turn the clamp fastener toward the back so they weren't so visible.

Then I put our copious amount of markers, sharpies, pens, and pencils into the jars.

Look how clean and organized my junk drawers are now!

No comments:
Post a Comment